Sunday, May 31, 2015

May Component of the Month - Beaded Beads with Susan Kennedy

Today is the big reveal for the May Component of the Month - Beaded Beads. These beaded beads are the mandala rondelle designed by DatzKatz and beaded by me. If you recall, these are the beaded beads I had available:

And here's a list of participants:

Guests

AJE Team
Susan Kennedy - Hostess
Please check out what everyone made with the beaded bead challenge! Thanks for stopping by!


Saturday, May 30, 2015

Saturday Share - Polymer Clay Headpins

Recently, I was presented with the challenge of coming up with a headpin component that could be used as a functional embellishment to another flat component.  With our fearless leader, Jennifer Cameron's gorgeous glass headpins as inspiration, I decided to try my hand at polymer clay ones.

My finished pin bouquet!
I started by making balled headpins of 18g copper.  Then I formed small round balls of clay. Initially, I wanted to keep them round and embed the copper pin within the ball, but they kept getting way distorted and plus, I wanted to texturize the clay.  I opted to flatten the balls by pressing them into my rubber stamp, then pushing the headpin through the middle.

Raw clay with headpins, and little balls waiting to be smushed.
I questioned whether just baking them as is would be strong enough for functional use, so I added liquid clay between the pin and clay.

Translucent liquid clay around the base of the headpin.
I pushed the clay base up to the pin, then cleaned off the excess liquid clay.
I also added it to the back of the piece, trying to work it down in the crevice!
I let them dry overnight and then debated how I was going to color them.  I decided I wanted them to have an "old world" feel to them and the texture plate I had used reminded me of a damask-type pattern, so I opted to use Pearl-Ex powder before baking, which left them with an irridescent glow.

After baking, I sealed them with Varathane in a matte finish.  Success!

In a light bulb moment, I thought this design would be cool with translucent clay, and had recently acquired a few packages of  Pardo Translucent clay.  After I first started playing with polymer clay, I purchased a great tutorial by Ginger Davis Allman, of The Blue Bottle Tree, featuring faux glass effects and wanted to give it a try.

After tinting the base clay with various alchohol inks, I made my bases as before.

After adding liquid polymer and  Pearl-Ex, plus some additional texture.

These turned out just ok...not very translucent though.

These, however, turned to molten blobs!

Well, as you can see, I need to go back and figure out my baking time/temperature for these!  My hubby really liked these burned ones, though!  I definitely will be adding some of the original ones to my shop and will be playing with the translucent ones some more...stay tuned!

Thanks for stopping by!


Friday, May 29, 2015

AJE COM Theme: Fireflies

The 2nd AJE Theme Challenge 

firefly lightning bug on leaf
Firefly/Lightning Bug image found here: http://managementscience.biz/lightning-bugs/
You, our loyal readers, know us. You know that we are constantly evolving, creating, discussing and challenging ourselves. This year the team decided to initiate four themed challenges, loosely aligned with the seasons. We wanted to offer a creative challenge that was broader in scope, drawing in bead makers, component makers, as well as designers/jewelry makers.

The Theme for Summer 2015 is Fireflies/Lightning Bugs


While many people in the United States believe the unofficial start to summer is Memorial Day weekend, I personally know it's summer when I look out my window at dusk and see the first fireflies flashing their lights in my back yard. There's something so magical about the points of light pulsating in the twilight that draws me outside, even with the risk of being eaten alive by the non-magical mosquitos.

Fireflies, which we mostly refer to as lightning bugs here in Indiana, are actually a type of beetle and not really all that interesting in daylight. I certainly wouldn't have selected it as a theme challenge based on their daytime appearance:

firefly lightning bug on leaf during the day
Image found on Backyards for Nature
However, at night....

fireflies lightning bugs at night
From Digital Photo Blog, a photograph of fireflies using a long exposure
When I informed the team that I had selected fireflies as the theme for June, I was stunned to learn several had never seen a firefly before! I had no idea they were that regional. I just assumed wherever bugs can live, fireflies are there. Nope. The UK contingent of the team informed me they had never seen them. And the U.S. west coast apparently doesn't get them either.

Later in the month, I will share some mythology and science involved with the lightning bugs to help keep you motivated to create components and/or art jewelry based on the theme. 

Here's what the AJE team has been up to:


Caroline Dewison fireflies in the forest
Caroline Dewison these porcelain pendants of fireflies in the forest. She says they're an idea in progress, but they look pretty amazing already. 

Jenny Davies-Reazor fireflies lightning bugs idea in progress
Jenny Davies-Reazor's works in progress. They will be "all about the color...luminous blue sky at dusk and silhouette foliage."

Niky Sayers firefly lightning bug in progress copper
Niky Sayer's firefly idea in progress. 

Linda Landig firefly sketch
Linda Landig made a quick sketch of what she plans to create with this month's firefly theme. 


Jen Cameron firefly lightning bug lampwork bead
Jen Cameron's (me!) first prototyes of fireflies in lampwork beads

How to Participate in This Month's Theme Challenge


1. Giveaway - This theme challenge DOES include a giveaway! ( This will vary each time.) 
I will be giving away two of the above pictured lampwork focals - winners selected randomly from comments on this post. 
  • Winners selected Monday June 1.
  • You must have an active blog. 
  • Email and blog address must be included in comments

2. Goal - Have fun! Try something different! Be inspired by the magic of fireflies! Make something that fits within this theme. This can be an artist bead, a component, or a finished piece of jewelry.    

       *You are free to use any artist bead/component in your design -
  • from an AJE team member 
  • of your own creation
  • from another artisan bead maker... 

3. Share/Reveal - Reveal date June 30th
If you would like to be included in the blog reveal at month's end, please email Jen at jennifer.glassaddictions (at) gmail.com. Since this is open to all, this is the most efficient way to be included. Emails need to be received by June 27th  to be included. 

Jen Cameron bio

Thursday, May 28, 2015

Carving in Porcelain - Sand Dollars

It’s all go here preparing for my next show this weekend, so I thought for todays post, I’d show you making some of my newest design of beads… Sand dollars.

Porcelain Sand Dollars
Sea creatures are a great subject for bead makers, and an ocean palette is perfect for jewellery designing. 

To make make this design, I first start with a lump of porcelain. The clay is wedged and rolled flat. I use bands on my rolling pin to get an even thickness when rolling. This clay has been rolled to about 5/6mm.

Ready to start

Next, I cut circles with a cookie cutter. 

Cut blanks

Once I have enough, the clay is speared from one side to the other with a skewer. This takes a bit of practice. The clay is so thin that it’s easy to come out in the wrong place!

The start of the bead

The top edge of the cut circle is pressed to make a rounded edge.

Starting to form

A small slice of clay is removed from the front and back of the bead by cutting down to the skewer with a wire loop tool. 

Cutting the first hole

Marks are made on the bead to show where to cut through for the holes in the design.

Marking out

I poke through the clay with a needle tool.

Piercing

Then lightly draw the shape of the central ‘flower’ of the urchin.

Marking out

Using a flat sharp sculpting tool, shallow cuts are made all the way round the shape to create the top design.

Carving the details

And the flower is drawn on the back.

Sculpting the shape

Once the beads are leather hard, they are sponged to smooth any rough edges, and when completely dry, they go in to the kiln.

And here they are finished!


Smoothed and finished
I fired them unglazed for a natural finish. These will be coming along to the Stourbridge bead fair with me this weekend... Hope to see you there!


Wednesday, May 27, 2015

Sharing The Clay Love

My sister-in-law, Heike (pronounced Hi-kah) is one of my favorite people to collaborate with, on art projects.  She and her husband are visiting us from Germany and will be here through Friday.
Heike, sketching designs for stoneware pendants.
Over the years, we've taught each other a wide variety of crafts. For example, one year Heike taught me silk painting (dyeing) and we made this wall hanging together.
And when I was in Germany 2 years ago, I taught Heike how to make a simple right angle weave bracelet.
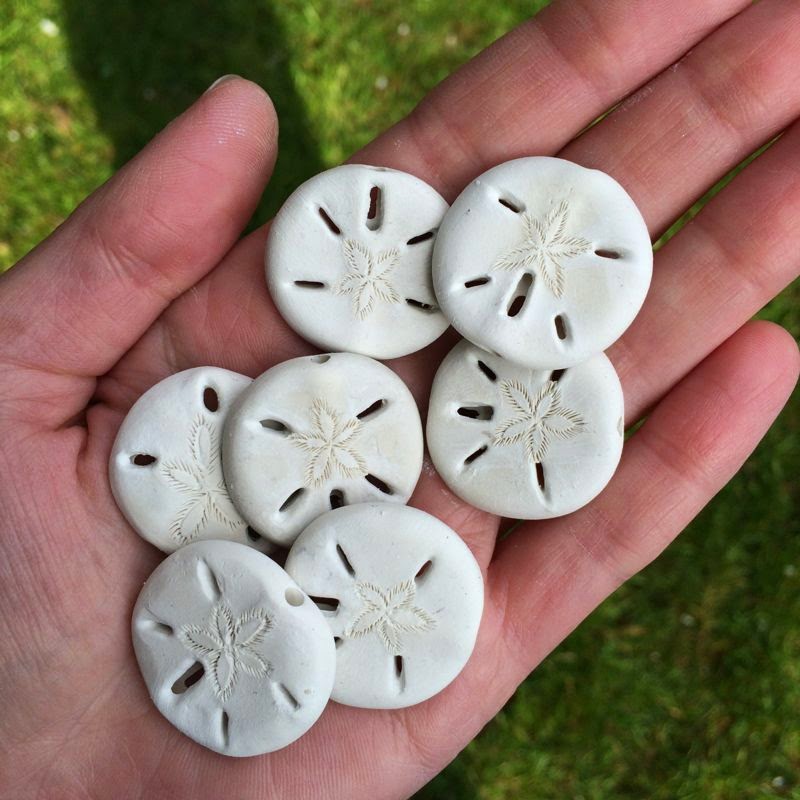
I've been looking forward to sharing some clay play with her during her visit this year.  She has made jewelry with silver PMC before, but not with stoneware. So I thought you might enjoy seeing the process Heike went through, as she created stoneware pendants for the first time.

First I got out my buff stoneware and showed Hieke how to prepare it and roll it out evenly.
I spread out a large collection of cutters, stamps and texture plates.
And then we went out in the garden to collect some flora.
I showed Heike that if you cut your shape through a plastic sheet, the piece will come out with nice rounded edges.
 Then she got to work; bringing her drawings to life.
 The center of this pendant will be accented by a bead after it is glazed and fired.


Heike used a texture plate (below) on part of a pendant and plans to glaze it in an ombré effect.
The first pendant, on the left, will have a bead added in the center hole, as part of Heike's necklace design. The  2nd pendant from the left, will be glazed in an ombré effect.  The sets of 2 and 3 pendants will be connected together with beads or jump rings.

We let the pendants dry overnight and then we accelerated the drying process a bit by putting them in the oven at 190F for a few hours.  It is important that they are thoroughly dry before being placed in the kiln, or they could possibly explode.  We did a bit of last minute tweaking and the pendants were in the kiln by about 11:30 a.m.  Creating ceramic jewelry components takes several days, and we're a bit under pressure to get our project completed by Friday, when Heike and my brother in law head back to Germany. 

In my next blog post, I'll share the glazing process and the end products!  Till then-
Linda Landig  
Linda Landig Jewelry